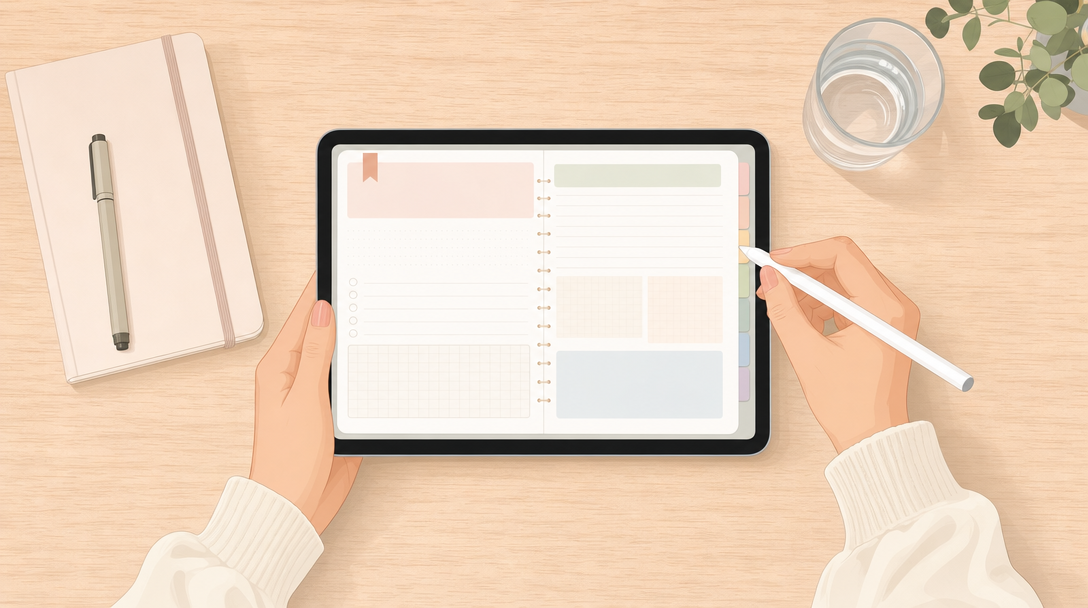
You downloaded GoodNotes. You probably even bought a planner PDF, full of good intentions. And now it’s sitting in your Files app, unopened, while you quietly wonder if you’ve made a mistake. You haven’t. GoodNotes looks more complicated than it is, and the gap between downloading the app and actually using it well is smaller than you think.
This is the guide I wish someone had handed me when I started. No jargon, no assumptions, just the practical steps to go from a blank app to a working daily planning habit. If you’re looking for the best digital planner for GoodNotes beginners, the truth is: the planner matters less than knowing what to do with it. So let’s start there.
Importing Your Planner: The Part That Trips Everyone Up
Here’s the first thing to understand: a digital planner is simply a PDF. That’s it. No hidden software, no special file type. GoodNotes reads it, and because the PDF has been built with clickable links, it behaves like an interactive notebook rather than a static document.
Step by step
- Open GoodNotes and either open an existing notebook or tap the plus icon to create a new one.
- Choose “Import PDF” (you’ll usually find this under document settings, or by tapping the plus icon and selecting Import).
- Locate your planner file, wherever you saved it, iCloud Drive, Files, or Downloads.
- Select “Import as one document” rather than importing each page separately. This keeps your hyperlinks intact and your planner functioning as a single, navigable notebook.
- Wait a moment while GoodNotes processes the file. For a planner with a year’s worth of pages, this can take fifteen to thirty seconds. That’s normal.
A quiet tip from experience: always download the PDF to your device before importing, rather than opening it directly from an email attachment or a cloud preview. Direct imports from previews sometimes strip the interactive links, which defeats the purpose entirely.
Hyperlinks: The Feature That Changes Everything
This is where most beginners have their first proper “oh, I see” moment. Hyperlinks are small tappable zones built into the PDF, usually placed over a date, a tab, or a small icon. Tap one, and GoodNotes jumps you straight to that page, no scrolling required.
Think of it the way you’d think of a well-organised filing cabinet versus a pile of loose paper. Both contain the same information. Only one lets you find what you need in a second.
In a well-built planner, you’ll typically find:
- A yearly overview that links to each month
- A monthly view that links to each day
- Small navigation tabs down the side of the page that return you to the main menu
- Habit trackers or goal pages linked from the monthly view
If you tap a link and nothing happens, don’t assume you’ve done something wrong. It usually means the PDF was imported as separate pages rather than one document, or that a setting in GoodNotes needs adjusting. Go to your notebook settings and check that hyperlinks are enabled, which they are by default in most recent versions of the app.
“A system only earns its keep if it saves you time on the days you have none to spare,” says Sara, Planjuli’s founder. “Hyperlinks aren’t a gimmick. They’re the difference between opening your planner and actually using it.”
Writing Naturally with Apple Pencil
The second hesitation beginners have is about the writing itself. Will it feel like paper? Will my handwriting look dreadful? A few adjustments make a real difference here.
First, choose a fine pen tip in the toolbar, somewhere between 0.5 and 0.8 for daily writing, and increase it slightly for headers or emphasis. Second, turn on “palm rejection” in your settings, though this is usually automatic when using an Apple Pencil. It means you can rest your hand on the screen exactly as you would on paper.
Third, and this one is underrated: zoom in. GoodNotes has a small writing box at the bottom of the screen that lets you write at a larger, more comfortable size while it shrinks your handwriting to fit the smaller boxes on the page. If your planner has neat little habit trackers or narrow daily lines, this tool alone will save you a great deal of frustration.
Don’t aim for perfect handwriting on day one. Aim for legible and consistent. The muscle memory catches up faster than you’d expect, usually within a week of regular use.
Your First Week: A Simple Routine to Build the Habit
Rather than trying to use every feature at once, give yourself a week to settle in. Here’s a realistic structure.
Days 1 to 2: Import your planner, explore the hyperlinks, and simply look. Don’t write anything yet. Get comfortable with where things live.
Days 3 to 4: Start with one page a day. Fill in your daily planner page each morning, nothing else. Keep it to three priorities and a rough schedule.
Days 5 to 6: Add an evening habit. Spend two minutes each night reviewing what you did and jotting a note for tomorrow.
Day 7: Look back at your week using the monthly view. Notice what worked and what you skipped. This isn’t about judging yourself. It’s simply information, and information is what lets you adjust.
This gradual approach matters more than it seems. Consistency beats intensity, and a planner used lightly for a month will always outperform one used intensely for three days and then abandoned.
Common Beginner Mistakes (and Easy Fixes)
Importing each page as a separate PDF. This breaks your hyperlinks and turns a navigable planner into hundreds of disconnected pages. Always import as one document.
Trying to use every template on day one. Habit trackers, gratitude logs, project pages, meal planners: it’s a lot. Start with the daily and weekly pages only. Add the rest once those feel automatic.
Choosing a dated planner before knowing your habits. If you’re still working out whether you’re a daily planner or a weekly planner, an undated system gives you room to start whenever you like, rather than losing three months to a January start date. We’ve written more about this in why an undated digital planner is often the better starting point, which is worth a read if you’re choosing your first one.
Overwriting on a page instead of duplicating it. GoodNotes lets you duplicate a page infinitely, so if you make a mistake or want a fresh weekly layout, duplicate rather than trying to erase everything and start again.
Ignoring the search function. GoodNotes can search your handwriting. If you’ve noted a book recommendation or an idea three weeks ago and can’t remember which page, use the search icon rather than scrolling for ten minutes.
Starting with the Right Planner
A well-designed PDF makes every one of these steps easier. Clean layout, properly linked navigation, and pages that don’t try to do too much at once are the quiet, unglamorous features that separate a planner you’ll actually use from one that gathers digital dust. If you’re looking for a calm, uncluttered place to begin, the September Reset Journal for Goodnotes | Planjuli has been built with exactly this kind of simplicity in mind, ideal for anyone still finding their footing with GoodNotes.
A Gentler Way to Begin
You don’t need to master every feature of GoodNotes in a weekend. You need one page you open each morning, a few links that get you where you’re going, and a pencil that feels comfortable in your hand. The rest follows in its own time. Give it a week of gentle, imperfect use, and you’ll likely find that the app which once felt intimidating has quietly become part of your day.